This post may contain affiliate links. Please read my disclosure policy.
This is a stunning no-bake dessert – and can be frozen for up to 6 months, so if you only need it for yourself, make the whole thing and treat yourself for months to come! Paleo and AIP-compliant!
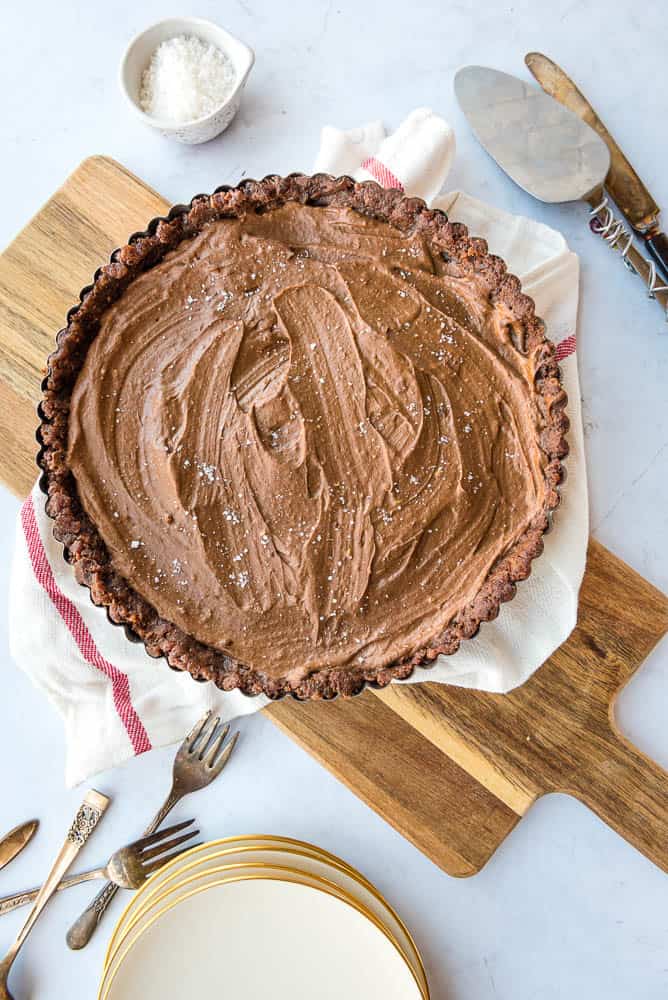
Some people put off starting the AIP diet for after the holiday season. I get it. The holidays are already stressful. You don't need to add a restrictive diet to the mix, all the while, just sit and watch everyone else eat the foods you love about the holidays.
But if you're determined to start AIP this holiday season or you've already started, I got you covered with a delicious, creamy Salted Chocolate Tart. You don't have to sacrifice your dessert this year to stay AIP compliant.
It's so beautiful, too.
You can be sure it'll be this year's show-stopping dessert that others will be talking about.
Ingredients in this healthy dessert (and substitutions)
For the base:
- Coconut oil: this oil is a great source of antioxidants, which provide anti-inflammatory and brain-protective effects.
- Coconut flour: this naturally gluten-free flour makes an excellent crust! If you can't do coconut or don't have any on hand, substitute with tigernut flour.
- Carob Powder: this natural chocolate substitute helps satisfy those chocolate cravings while doing AIP without sacrificing on flavor. You can swap this out with Cocoa Powder if not on AIP.
- Dates: these powerhouse fruits contain insoluble fiber, essential for preventing inflammation in the digestive tract and 50% more potassium than a banana. You can substitute with dried dates or prunes. Just let them soak in hot water for half an hour before using.
- Sea salt: rich in minerals, sea salt helps regulate our electrolytes and imparts a wonderful flavor in this tart base. You can substitute with Kosher salt. Just be sure to double, as sea salt is saltier than Kosher salt.
- Maple syrup: this low glycemic natural sugar contains so many antioxidants, which we all know lowers inflammation. Feel free to substitute with honey.
For the filling:
- Avocados: these make the tart extra creamy and rich in fiber. This is where your dessert works for you this holiday season!
- Coconut oil
- Maple syrup
- Coconut milk: this natural dairy-free milk contains so many healthy fats and nutrients. Substitute with tigernut milk if you can't have or don't have any coconut milk.
- Carob powder
- Sea salt
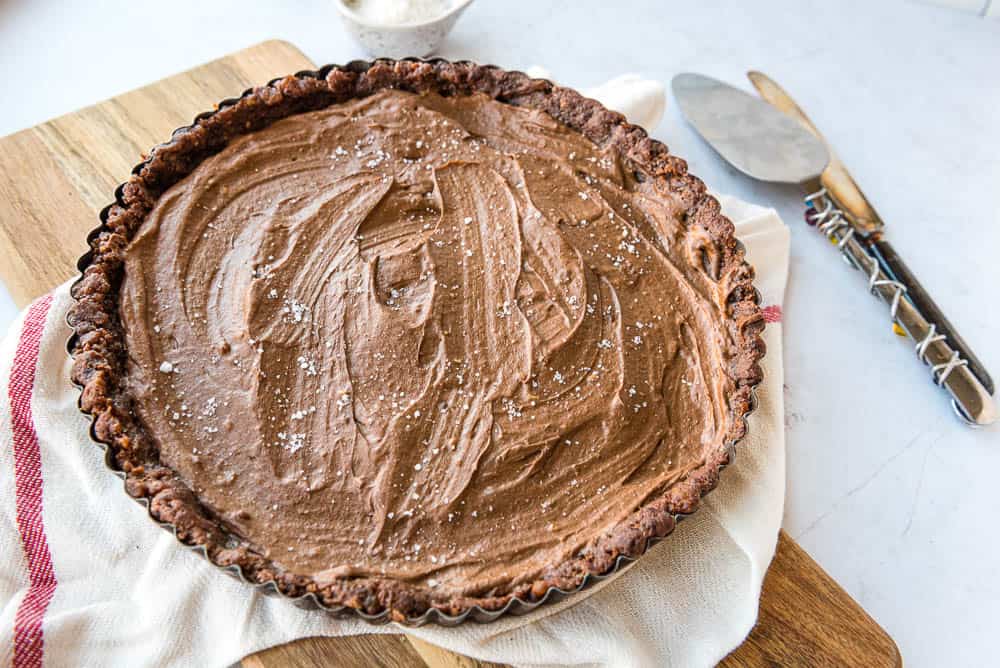
How to make this dreamy dessert
- Prepare the base by adding all of the ingredients for the base into a food processor and processing until the mixture is soft and sticks together when pinched.
- Press evenly into a 9-inch tart pan with removable bottom or pie pan and then put into the freezer to set. (This slices and removes from the pan best if you can put a piece of parchment down on the bottom first.)
- Meanwhile, make the filling by adding the filling ingredients to the food processor and processing until smooth and creamy.
- Take the tart base out of the freezer and pour the filling in, then spread evenly.
- Put the tart back into the freezer for at least an hour to set.
- Remove from the freezer about 15 minutes prior to serving (but best removed from pan and slice while frozen). Serve with a sprinkling of large-flake sea salt.
Making this delicious holiday treat ahead
This is a great dessert you can store in your freezer for up to 6 months. If you are not eating the same day, wrap the whole tart in plastic wrap and store in the freezer.
For easy, long-term storage, slice up the tart once frozen. Then wrap each slice individually in plastic wrap. Store the tart slices in a freezer-safe container. Now you have a delicious dessert to satisfy any holiday cravings while staying on AIP!
Can you make this tart coconut-free?
Unfortunately, it's not super easy to completely make this coconut-free. You can swap out the coconut flour with tigernut flour and the coconut milk with tigernut milk, but you really need an oil that will solidify after chilling to keep it all together. You can try leaf lard or palm shortening, but I can't guarantee it'll stay together well if you do.
Discover other delicious AIP Holiday Recipes!
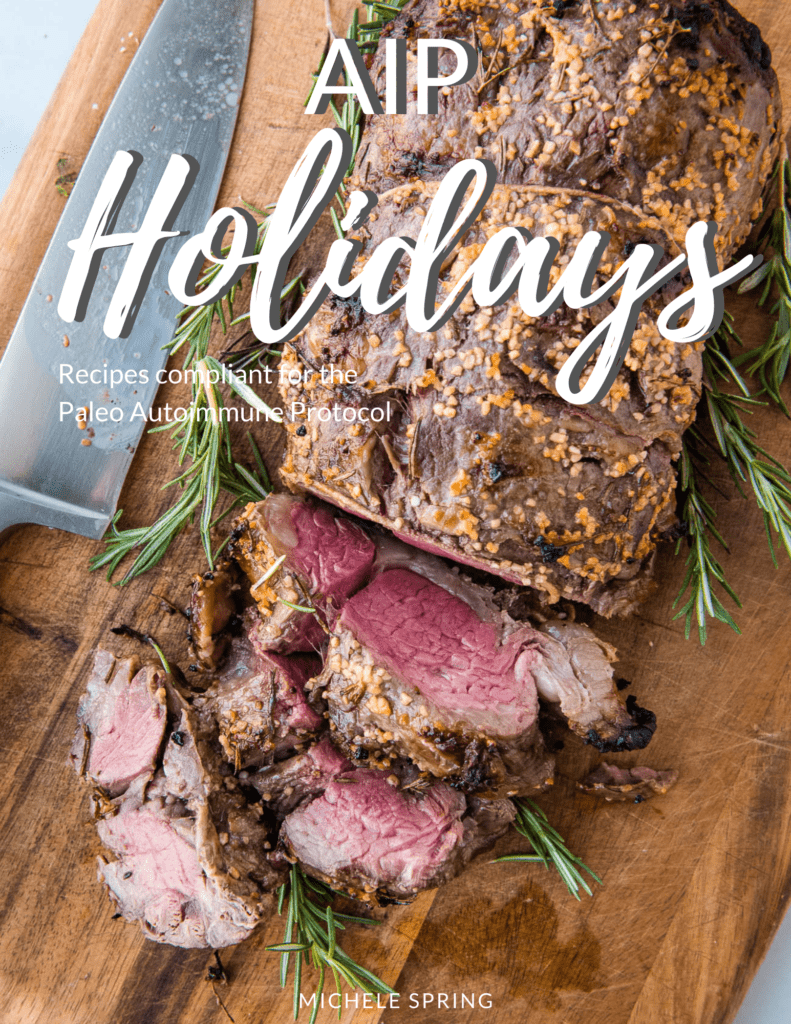
The AIP Holidays eBook is chock full of delectable recipes that will be sure to make your holidays wonderful – without feeling like you're missing out on the amazing food!
Want other Paleo and AIP Dessert recipes? Try one of these!
Paleo Molasses Cookies with Maple Cream Filling: These Paleo molasses cookies with a maple cream filling are incredible and you'd never know that they were Paleo, gluten-free, and dairy-free! They are like a gingerbread Oreo-cookie. So delicious. Perfect for Christmas and the holidays!
“Chocolate” Orange Truffles: These bite-sized treats are quick and easy to make, freezer-friendly, and are just 4 ingredients. This easy AIP dessert is a delicious way to satisfy that sweet tooth!
Paleo Fruit Tart with Banana Cream: A beautiful make-ahead Paleo and gluten-free dessert that is perfect for the summer holidays.
Salted Chocolate Tart Recipe
If you make this tart, I'd love to hear how it turned out! Either comment below or share a pic on Instagram and tag me @thrivingautoimmune!
Salted Chocolate Tart
Ingredients
For the base:
- 1/4 cup Coconut Oil (melted)
- 1/2 cup Coconut flour ((or Tigernut flour))
- 2 tbsp Carob Powder (or Cocoa Powder if not on AIP)
- 3 cups Dates (pitted (make sure they're soft, if not, soak in hot water for 15 minutes first. This is about 12 oz of dates))
- 1/2 tsp Sea Salt
- 1 tbsp Maple Syrup
- 1 tbsp Water
For the filling:
- 2 ripe Avocados
- 2 tbsp Coconut Oil (melted)
- 1/4 cup Coconut Milk ((or Tigernut Milk))
- 4 tbsp Carob Powder (or Cocoa Powder if not AIP)
- Pinch Sea Salt
- 1/4 cup Maple Syrup
Instructions
- Prepare the base by adding all of the ingredients for the base into a food processor and processing until the mixture is soft and sticks together when pinched.
- Press evenly into a 9-inch tart pan with removable bottom or pie pan and then put into the freezer to set. (This slices and removes from the pan best if you can put a piece of parchment down on the bottom first)
- Meanwhile, make the filling by adding the filling ingredients to the food processor and processing until smooth and creamy.
- Take the tart base out of the freezer and pour the filling in, then spread evenly.
- Put the tart back into the freezer for at least an hour to set.
- Remove from the freezer about 15 minutes prior to serving (but best removed from pan and slice while frozen). Serve with a sprinkling of large-flake sea salt.


0 Comments