This post may contain affiliate links. Please read my disclosure policy.
A fabulous make-ahead option, this breakfast recipe will give you tropical vibes and keep you full until lunch.
One of the most popular breakfast recipes on my site – the Pumpkin Pie Breakfast Parfaits – is a delicious breakfast option. But it does kind of say “fall/autumn” since you know, pumpkin pie. So I felt it was time for an alternative!
This Mango Kiwi Breakfast Parfait uses the same base and method to make as the Pumpkin Pie ones, but is a delightful tropical version.
Great for those hot days of summer – or any time you just want to feel like you're getting away on a tropical vacation.
Table of contents
Taste and consistency of this parfait
The taste of this parfait is a subtle mango flavor combined with the milk you use. So if you use coconut milk, it'll be a mango coconut flavor that I find pair extremely well. However, if you cannot tolerate coconut you can use another milk of choice (tigernut milk would be the other AIP option)
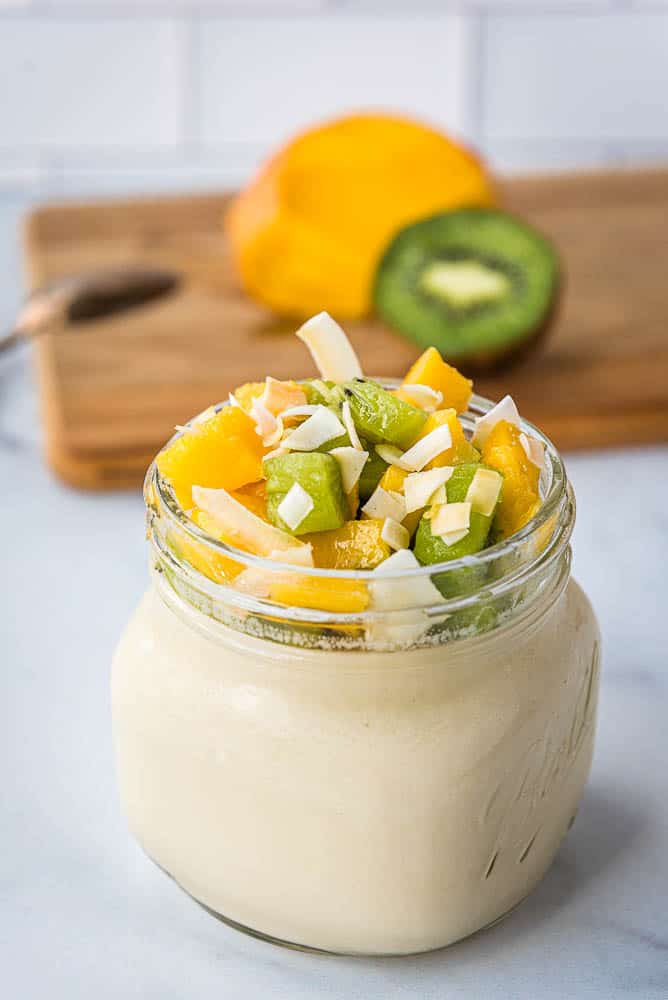
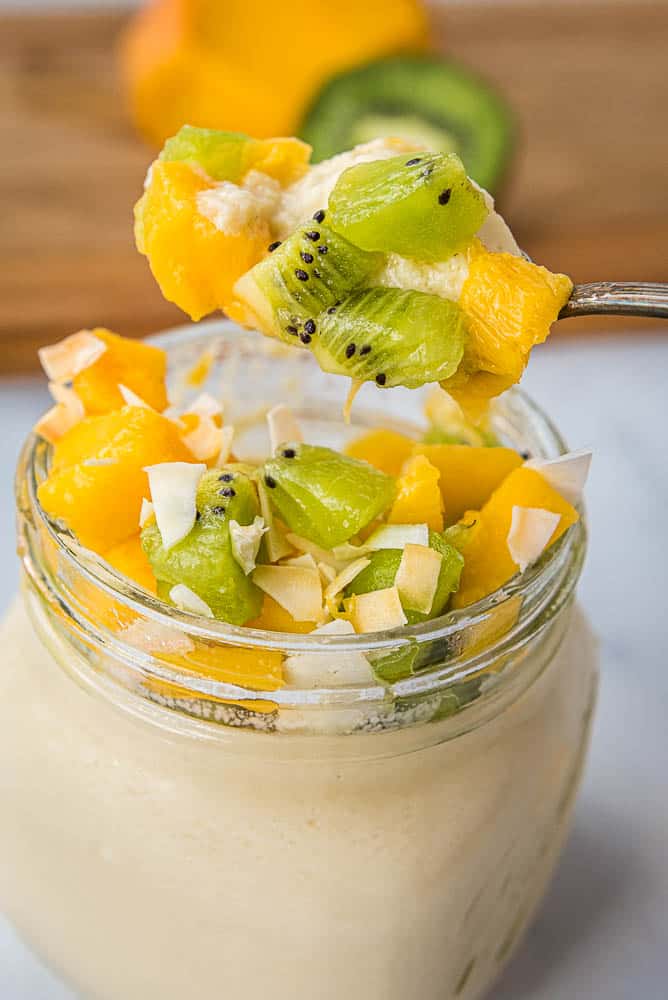
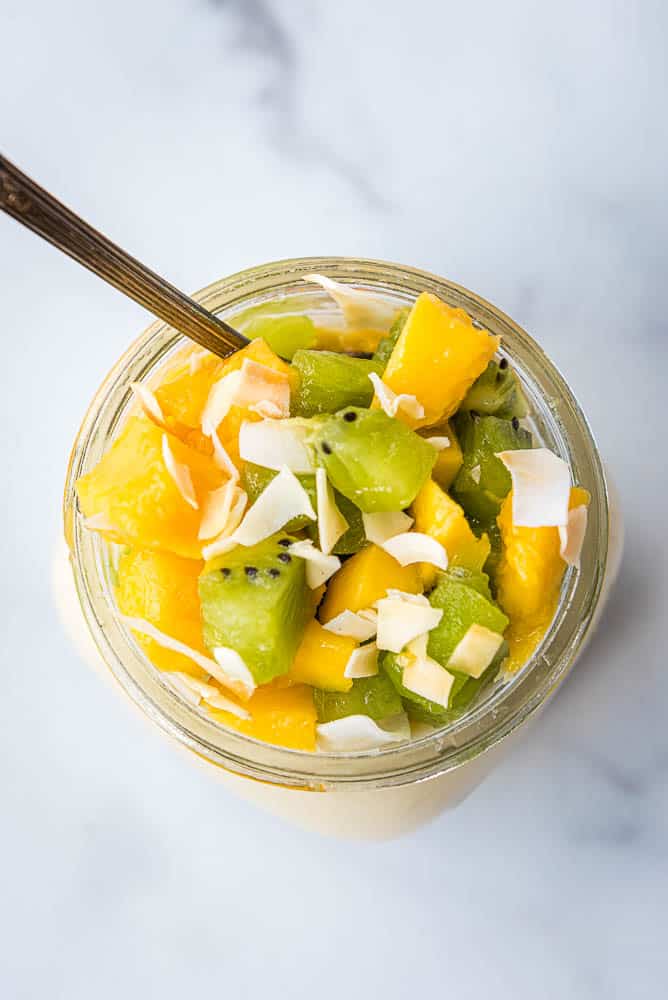
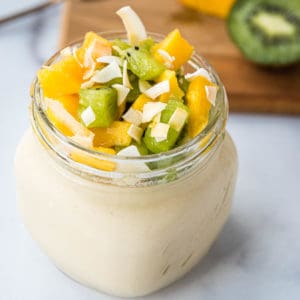
Then the toppings of fresh mango and kiwi combined with toasted coconut (if using) really drive home that tropical flavor.
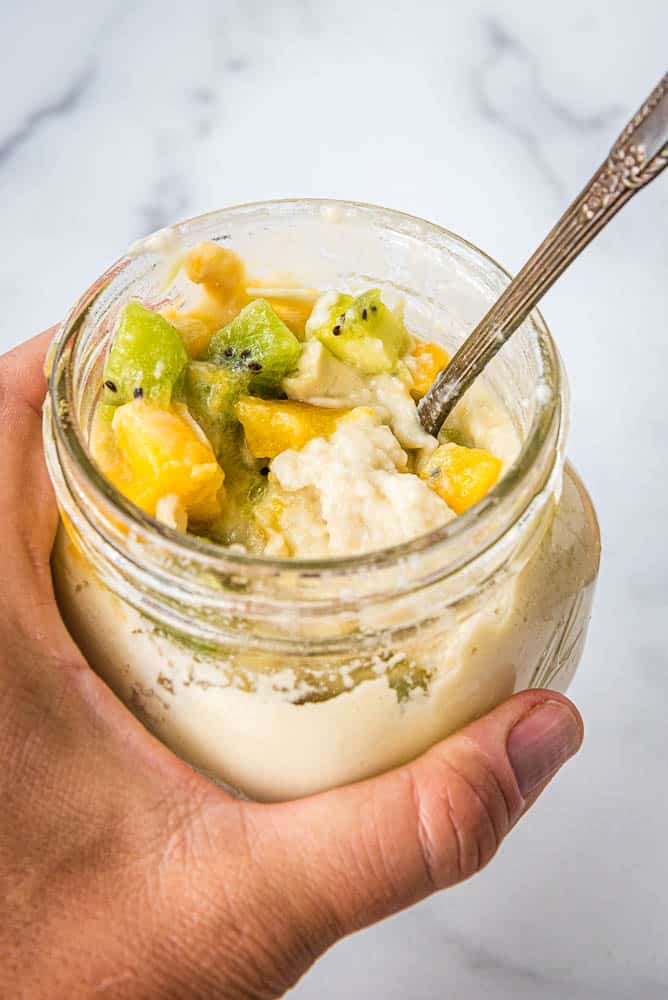
The base of this parfait really has two options – you can mix the milk with 1-3 teaspoons of gelatin (or agar powder for a Vegan/Vegetarian version). 1 teaspoon will make it much looser, closer to a regular yogurt consistency. 2 teaspoons is what you see in the picture below, getting more solid and creamy but yet still on the looser side (this is my preferred amount). And then 3 teaspoons (aka 1 tablespoon) makes it much more solid, more like a panna cotta.
Totally up to you on which one you prefer, but I do suggest experimenting to see which one you like best!
Ingredients needed for this recipe (and substitutions):
The base of this parfait (the creamy white-ish bottom) is composed of only a few ingredients (see recipe card below for exact measurements).
• Coconut Milk – This is my preferred milk to use, but homemade tigernut milk is another AIP option and you could also use almond or cashew milk if on Paleo. Personally I like the fat and taste of canned coconut milk for this (I use Native Forest Simple for AIP) but you can also use your own homemade coconut milk as well
• Gelatin – this is the “glue” that makes the mixture stick together and become thick. You want gelatin, NOT collagen for this, and it will need heat to activate. This also does mean the recipe takes several hours to set up before it's ready. You can also use agar powder in equal amounts for a Vegan or Vegetarian option. (this is the gelatin I use)
• Mango – the main flavor component of this parfait, you can use either fresh or frozen mango for the base. I personally just use frozen as it's already peeled and diced and it works just as well. No need to thaw it either – just through it in the blender with the other ingredients! You'll want fresh, canned, or thawed-from-frozen mango though for the topping
• Maple Syrup – just a tad is used to sweeten this parfait. You can use honey instead or even omit it if desired.
• Kiwi – a fun fruit that gives both color and a pop of Vitamin C to the parfait! Typically you have to get this fresh. And peeling it is really optional. (Have you ever tried Dried Kiwi? It's SOO good!)
• Toasted Coconut Chips – I have a recipe on how to toast coconut flakes but you can also buy pre-toasted ones like Dang brand. Or use unsweetened, shredded coconut – or omit completely if you cannot tolerate coconut.
How to make this parfait:
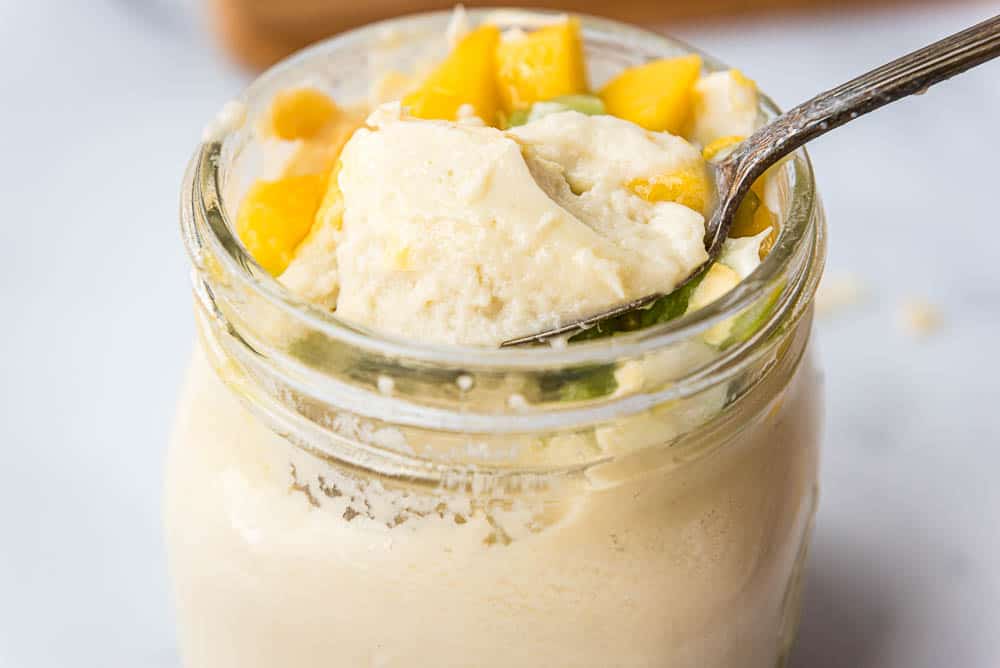
It doesn't get much easier than this parfait. You just need to mix all of the ingredients for the base in a blender, then pour into a saucepan and heat over the stove for a few minutes, until the mixture is hot to the touch. This activates the gelatin so it'll thicken the mixture.
Then you'll refrigerate the mixture for at least 4 hours to set it all up.
And while that's chilling you can peel and dice the kiwi and mango and toast the coconut chips (or you can also buy pre-toasted coconut chips if you prefer, like Dang brand).
How to Meal Prep This Breakfast:
This breakfast parfait is perfect for meal prep because you can make several at once and due to the necessary chilling time, you have to make it several hours before you need it anyway.
All you need to do to meal prep it though is to put it into small (and portable – if that's a factor you need) containers before chilling. Then once it's all set up you can add the kiwi and mango.
I do recommend that you hold off on adding the toasted coconut until right before serving though as it may get soggy. If it does though, no big deal. It'll still be delicious!
This will last up to 5 days in the fridge.
Other breakfast recipes you may like:
Pumpkin Pie Breakfast Parfait (Paleo, AIP) – this is similar to this Mango Kiwi Parfait, only using pumpkin and pumpkin pie spices instead! Yum!
Maple Blueberry Breakfast Sausages (Paleo, AIP) – a good side dish for these parfaits if you want a little more protein!
Spiced Carrot Porridge (Paleo, Whole30, AIP) – a warm, hot cereal to start your day off
AIP Breakfasts Book – this is my ebook full of over 60 Autoimmune Paleo-friendly breakfast recipes to start your day off right!
Mango Kiwi Breakfast Parfait Recipe
If you make this parfait I'd love to hear how it turned out! Either comment below or share a pic on Instagram and tag me @thrivingautoimmune!
Mango Kiwi Breakfast Parfaits
Ingredients
For the base:
- 1 13.5 oz can Coconut Milk (can also use 2 cups tigernut milk or a nut milk as well)
- 1 tsp Maple Syrup (or Honey)
- 2 tsp Gelatin (see notes for changing thickness of the mixture, can also use Agar Powder for Vegan or Vegetarian)
- 1 cup Mango (peeled and cubed – either fresh or frozen is fine)
For the toppings:
- 1 Kiwi (peeled and diced)
- 1 Mango (peeled, pit removed, and diced)
- 1 tbsp Toasted Coconut Flakes
Instructions
- Put all of the ingredients for the base into a blender and blend until smooth (about 1 minute).
- Transfer the mixture to a small sauce pan and cook over medium low heat until the mixture is hot to the touch, about 3-5 minutes.
- Pour the mixture into small containers (whatever you plan on serving them in – or you can use a larger container if you're just going to scoop out a little each time). Put into the refrigerator and chill for at least 4 hours to set up.
- Once the mixture is set up, prepare the toppings and serve!
Notes
Nutrition
You may also like:

Interested in more Paleo and AIP-friendly recipes, meal prep guides, and more?
Check out Prep & Reset: Autoimmune Meal Prep & Recipes, my quick-start food prep system designed for autoimmune women who know food matters—but need a low-lift, practical way to begin. If you’re tired of decision fatigue, wasted groceries, or falling off track… this toolkit gives you done-for-you meal plans, freezer guides, and recipes that actually support your healing, without adding more stress.
Adding a pinch of salt and juice of half a lemon makes this even more flavorful 😉
This looks amazing. I’m so excited to try it 🙂
Are there any fruits this will not work with? Or any that would effect the amount of gelatin used (i.e. bananas, strawberries, sweet potatoes, etc.)?
So sorry – I thought I had responded to this! But I’ve tried it with a ton of different things and haven’t had any issues with it not working, so I say experiment away with all sorts of flavors 🙂
I found that using fruits that are real juicy, like blueberries and cherries, didn’t work as well as more fleshy fruit. It separates a bit. It still tastes good though.